Oderland supports running Python-based web applications based on the WSGI standard, which most larger Python projects follow. Running Python applications is supported on all our web hosting accounts.
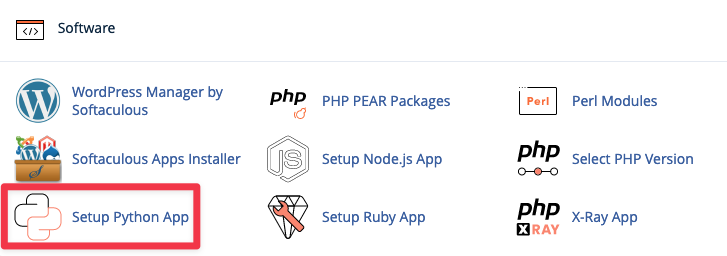
To set up a new Python application, begin by logging on to cPanel. Then, find the section Software and click the icon Setup Python App.

Once there, you can see your existing Python applications, and are given the opportunity to set up a new one:

After clicking Create application you get to customise your application.

Here you have five different options to adjust:
Python version– The version of Python that should be used to run the app. Which version you choose depends on the application that you’re planning to run. The documentation for many Python projects mention a recommended version.Application root– The root folder in which you will upload the Python code. Since the webserver itself doesn’t handle the Python files, they should be placed outside of~/public_html. You enter the path relative to your home folder, so if you enter python-app this will mean/home/username/python-app.Application URL– Here you select the domain on which the application will run, and the URI that shall be used. Enter/to run the application directly on the domain. To use a subfolder for the application, enter/foldername. E.g. if you enter/python-appyour app will be reachable onyourdomain.com/python-app.Application startup file– You can leave this field empty if you do not have a specific file which will be used to start your application. If you leave the field empty, a file namedpassenger_wsgi.pywill be created.Application Entry point– You may also leave this field empty. It will be set toapplicationby default.
When you have set everything up, click Create. A virtualenv will now be created which enables you to install other Python modules for your application. A virtualenv in the world of Python can be described as a virtual environment which allows you to install modules and packages that don’t affect the system or other virtualenvs. Thus, it’s a way to keep different Python environments separate. The virtualenv can be accessed after logging in via SSH to your web hosting account. More information about connecting via SSH can be found here.
Once the setup is completed, you will now see your new application in the list of existing Python applications.

If you click the pen icon you reach a number of settings for the application.

Here you can see information about your application, and you also can make various changes.
On top you have a couple of buttons for managing the application:
Destroy– Delete your application.Cancel– Cancel the current modification of the application and retur to the list of available applications.Save– Save edits you have made on the application.
Under these you find Enter to the virtual environment. This command can be copied and run to activate the virtual Python environment (virtualenv) for your application. This is done after you have accessed your web hosting account via SSH. Please refer to the paragraf above about virtualenv and access via SSH.
A bit below that you find the following buttons:
Stop app– Stop the Python application. Will be replaced byStart appif the application is stopped.Restart– Restart the application.
You can also edit the settings for your application:
Python Version– Select Python version.
Application root,Application URL,Application startup filesamtApplication Entry point– Refer to the information above.Configurations files– Here you may install Python packages via Pip.Environment variables– Here you may set different environment variables for your application.
