Den här artikeln finns även på:
![]() Svenska
Svenska
Via cPanel
You can always access a terminal through cPanel. Please follow these instructions to do this:
- Login to cPanel.
- Click on the icon called
Terminalunder theAdvancedsection.
- A warning will appear on the next page if you have not used the terminal before. If you are comfortable using a terminal and want to go ahead, click the blue button.
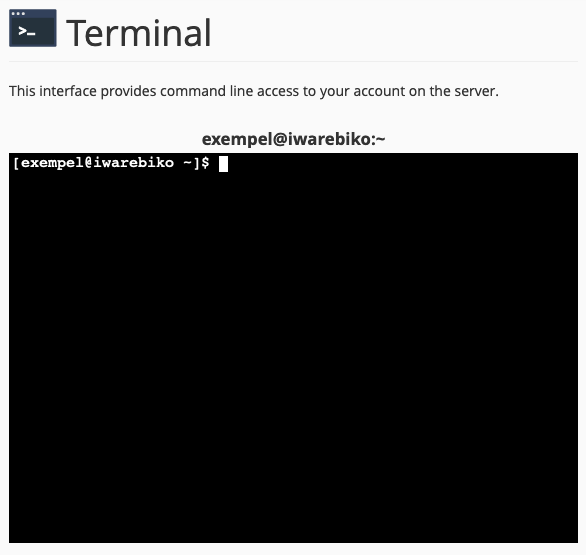
- You now have complete access to your account through the terminal.
Via SSH client
To connect with SSH to our servers you are required to use keys. This guide will walk you through how to create a public key which is stored on the server along with a private key that is stored on your computer.
Create a key pair
- Login to cPanel.
- Click the
SSH Accessicon in theSecuritysection.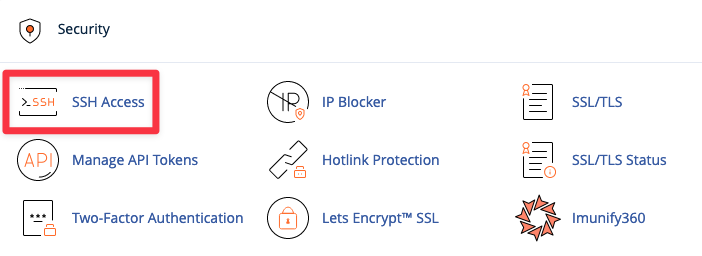
- Click on
Manage SSH Keys.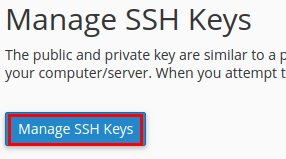
- Click on
Generate a New Key.
- You now need to fill out the following information:
- Key Name: You can choose any name you wish, for example “id_rsa” which is the default name.
- Key Password: A password for your private key. The strength has to be over 50 for the password to be accepted.
- Reenter Password: Enter the same password again.
- Key Type: RSA.
- Key Size: We recommend using 4096 bit.
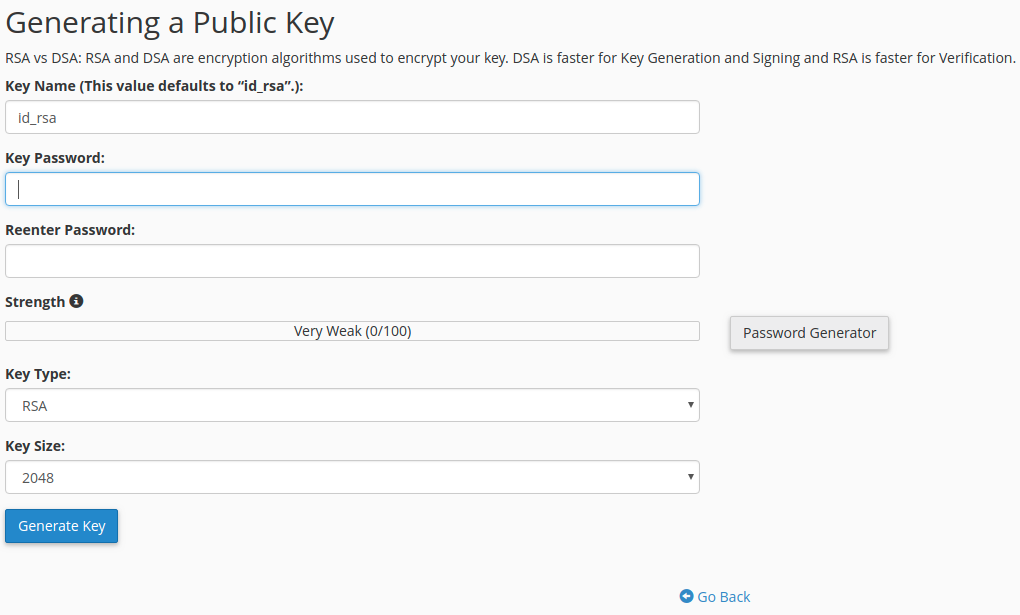
- You can now generate the key by clicking
Generate Key.
If you click on Go Back you will return to the page with your SSH keys. There should now be two keys there, one public and one private.
Activating the Key
- On the
Manage SSH keyspage you need to click onManageto the right of your public key.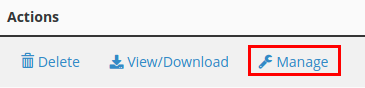
- Then click on
Authorize.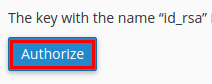
- The SSH key is now authorized to access your account, you can click
Go Backto get back to theManage SSH keyspage.
Download the private key
- On the
Manage SSH Keyspage click onView/Downloadto the right of the private key.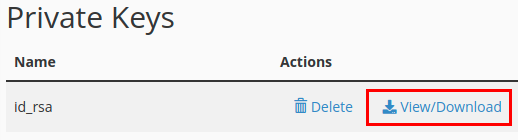
- If you are going to use PuTTY you will have to convert your key into PuTTY-format. If you are not going to use Putty you can skip to step 4.
- For Putty users. In the field
Enter the passphrase to unlock the "key name" key for conversionyou need to enter the password for your private key which you set when you created it. Then clickConvert.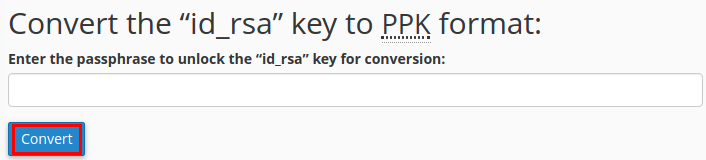
- Click on
Download Keyto save the key some where on your computer.
Set up PuTTY (Windows)
If you are running Windows 8.1 or earlier you can use a program called PuTTY to connect with SSH to the server. If you don’t have PuTTY you can download it here. To set up PuTTY to use your private key you need to follow these steps:
- Open up PuTTY and load the session you want to edit the settings for. If you do not have any session saved since earlier you can go to next step.
- Click on
Connection->SSH->Auth.
- Click on
Browseand find the private key file you downloaded and saved from the server earlier. - Go back to
Sessionand clickSave. If you do not already have a session you need to enter a name before you clickSave. - In the field
Host Nameyou need to enter the name of the server you are going to connect to. You can find the host name you need to use by following this guide. - Click
Opento start the SSH session. - If you configured everything correctly PuTTY will now ask you if you trust the server, enter
yes. - PuTTY should now ask for your username, you will need to type in your cPanel username. If you do not know which cPanel username you have you can follow this guide all the way to step four to find out.
- At last PuTTY will ask you for the password for your private key. It is the same password as you entered when you created the key pair in cPanel (as described above).
- You should now be logged in to your account over SSH.
Connecting with PageAnt (Windows)
PageAnt is a program that keeps track of your keys. Every time PageAnt starts you can add your key (you will have to enter the password for the key). With PageAnt running you can make connections with PuTTY without having to enter your password every time you connect to a server.
When PageAnt has been installed you should get an icon (looking like a computer with a hat on) in Windows Task Bar. Right click on the icon and then click Add Key, choose the private key file which you downloaded earlier.


You also have to enter the password for your private key.
Now you should be able to connect to the server with PuTTY without having to enter your password.
Connecting with SSH in Terminal (Unix/Linux/Mac/Windows 10)
To use the private key you downloaded earlier you can add the -i flag to the ssh command:
ssh -v -i /path/to/private_key cpanelusername@servername
If you don’t know which cPanel username you have you can follow this guide all the way to step four to find out.
If you don’t know which server name to use you can follow this guide to find out.
If you get disconnected too often
Sometimes when you connect via SSH and leave the connection idle for a while, the server may disconnect automatically. This is normal, but if you think that the server is a bit to aggressive when it comes to automatic disconnects, you may need to adjust your connection settings.
Using Putty (Windows)
- To adjust the setting regarding connection timeout in Putty, you need to edit the session you created above.
- In the pane
Category, go toConnection. UnderSending of null packets to keep session active, enter 240 forSeconds between keepalives.
- Now, click
SessionunderCategoryand then onSave. - Test your connection and leave it connected for a while to test the timeout. If the server still disconnects too often for your taste, edit
Seconds between keepalivesto a lower number in steps to find the value that suits your needs.
Using Unix/Linux/Mac/Windows 10 with bash
Edit the file ~/.ssh/config (or create it if it doesn’t exist yet) on the device you’re connecting from:
Hostservername.oderland.comHostnameservername.oderland.comServerAliveInterval 240 ServerAliveCountMax 2
If you do not wish to edit the config file, you can use the same settings directly in your command when you connect:
ssh -i /path/to/private_key -o ServerAliveInterval=240 -o ServerAliveCountMax=2 cpanelusername@servername.oderland.com
Regardless if you’re using the config file or the connection command above, swap out servername.oderland.com with the correct server name for the account.
Test your connection and leave it connected for a while to test the timeout. If the server still disconnects too often for your taste, edit ServerAliveInterval to a lower number in steps to find the value that suits your needs.